
How to Plan a Fiberglass Pool: From Excavation to Automation
The decision to install a fiberglass pool is more than choosing a splash zone; it’s an investment in design, labor, technology and long‑term upkeep. This round‑up breaks down every critical phase—excavation, installation, automation, maintenance and adding a waterfall feature—to help you budget accurately, avoid common pitfalls and finish with a clean, efficient, and visually stunning pool.
1. Choosing the Right Fiberglass Pool Model
Fiberglass pools come in dozens of shapes—from rectangular decks for family lounging to curvy free‑form designs that mimic natural ponds. The first step is aligning your lifestyle needs with a model that fits both your yard and your budget.
Key selection factors:
- Size & depth: match family usage and local zoning limits
- Shape: rectangular for structured play, free‑form for aesthetic appeal
- Built‑in features: spa jets, diving boards or swim‑up access
- Finish options: matte vs. glossy, custom color overlays
- Warranty & support: minimum 10‑year structural guarantee
The most common mistake is choosing a pool that looks great on paper but doesn’t fit the yard’s slope or soil conditions, leading to costly adjustments later.
Additional considerations:
- Sun orientation and shade planning: Position the pool for ample summer sunlight while providing shaded areas in cooler months. A sun‑tracking layout can reduce heating costs and increase comfort.
- Deck material compatibility: Verify that your deck will not transfer excessive moisture or thermal expansion to the shell.
- Privacy and landscaping integration: In dense neighborhoods, a free‑form shape can be surrounded by plants or a privacy wall for a natural look.
- Energy efficiency and environmental impact: Fiberglass shells are lighter than concrete, reducing excavation energy and biofilm buildup, which lowers chemical usage over time.
- Local climate influences: In cooler regions you may want a deeper pool to retain heat; in hot climates a shallower design can reduce evaporation rates.
When measuring your yard, use a laser level or tape measure and sketch a scaled layout on graph paper. This visual aid helps you see how the pool will sit relative to existing structures, driveways, and utility lines before any digging begins.
2. Planning Excavation Work
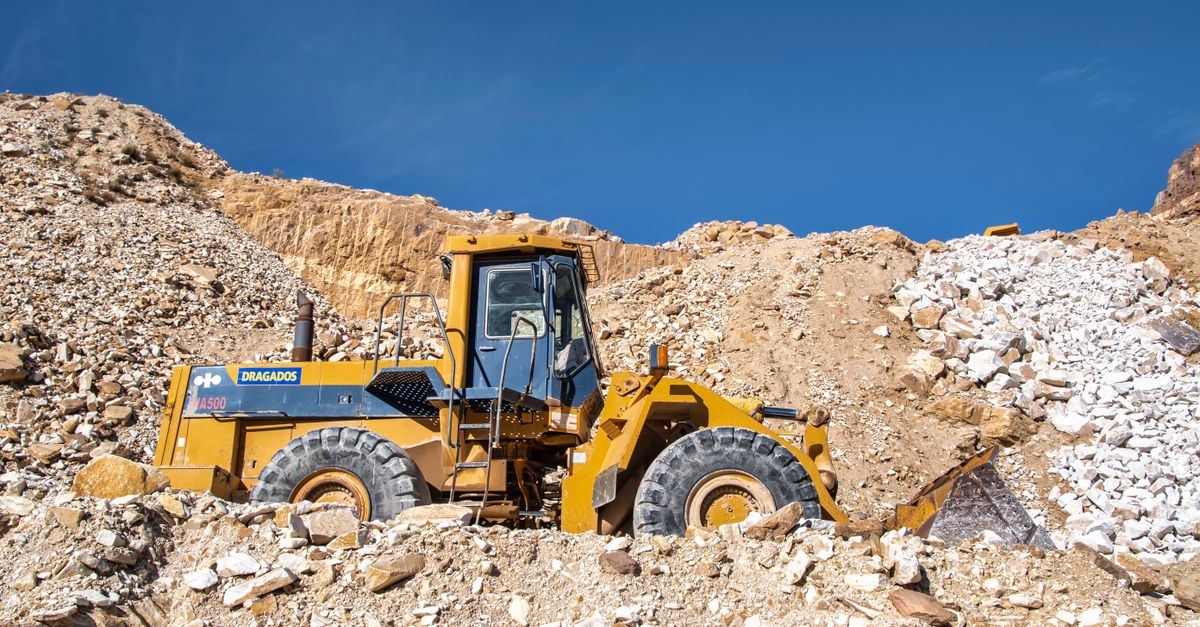
Excavation sets the foundation for a flawless installation. It involves grading, trenching, and ensuring proper drainage to prevent future water damage.
Typical excavation steps:
- Site assessment: soil type, rock presence, and existing utilities
- Permit acquisition: local building codes and homeowners association rules
- Marking dimensions: use laser levels for precision
- Backfilling & compaction: prevent settling after pool placement
- Drainage design: French drains or sump pumps to manage runoff
The cost ranges from $2,000 to $8,000 depending on depth and terrain. A professional excavator will provide a detailed estimate that includes grading, shoring, and disposal of excess material.
Common pitfalls:
- Ignoring soil compaction can cause future subsidence
- Skipping drainage design leads to pooling around the structure
- Overlooking utility relocation may trigger costly delays
Expanding on the excavation process:
- Soil testing and bearing capacity: Before digging, a geotechnical survey determines if the ground can support the pool weight. Clay soils may need additional reinforcement.
- Slope and drainage patterns: A slight slope away from the house prevents water infiltration into foundations. Installing French drains or an angled berm ensures runoff is diverted safely.
- Backfill material selection: Lightweight backfill such as decomposed granite reduces load on the shell, while crushed stone provides better compaction and drainage.
- Shoring and support structures: In steep or rocky sites, temporary shoring prevents wall collapse during excavation. This may involve timber cribbing or steel bracing that is removed once the pool is in place.
- Utility relocation coordination: If water lines, gas pipes, or electrical conduits intersect the planned pit, a certified plumber or electrician must reroute them before digging begins.
- Timeline expectations: For a standard 20‑foot pool on flat soil, excavation typically takes 4–6 days. Rocky terrain can double this schedule and add extra labor costs.
Hiring a contractor who offers a combined excavation and installation package often saves both time and money by eliminating coordination errors.
3. Selecting a Reputable Installer
The installer’s expertise determines the pool’s longevity and your satisfaction with the final product. Look for credentials that include certifications from fiberglass manufacturers, a proven track record, and transparent pricing.
What to verify:
- Manufacturer accreditation: e.g., PPI (Polypropylene Institute) or Fiberglass Pool Association
- Insurance coverage: liability and workers’ compensation
- Warranties: structural integrity, workmanship, and post‑installation support
- Customer reviews: verify consistency in quality and communication
Ask for a detailed written quote that breaks down material costs, labor hours, and contingency allowances. A reputable installer will also provide a service contract outlining maintenance responsibilities.
Additional vetting steps:
- Portfolio review: Request before‑and‑after photos of completed projects in similar climates or yard conditions to gauge adaptability.
- Reference checks: Contact at least three past clients and ask about any surprises, warranty claims, or post‑installation support issues.
- Licensing verification: In many states, a pool installer must hold a valid contractor’s license. Verify this with the state licensing board to avoid future liability.
- Warranty details: A clear warranty statement should specify coverage periods for structural cracks, finish damage, and mechanical components. Ensure it is written in plain language.
- On‑site presence during installation: The installer’s project manager should be available on the day of placement to address any unforeseen conditions promptly.
A professional who demonstrates transparency and thorough documentation reduces the chance of post‑installation disputes.
4. Integrating Pool Automation Systems
Automation transforms routine upkeep into a few clicks or voice commands. Modern systems control lighting, pumps, heaters, and even water chemistry with minimal manual input.
Essential automation components:
- Pump & filter controllers: variable speed drives for energy savings
- Smart thermostat: set temperature schedules remotely
- Lighting modules: RGB LEDs controlled via smartphone or voice assistants
- Water quality sensors: real‑time chlorine, pH, and turbidity monitoring
A well‑configured system can cut operating costs by 30% to 50%. Installers often bundle a full automation suite for an additional $1,500 to $3,000—worth it if you value convenience.
Installation checklist:
- Run conduit and wiring before pool fill
- Test all sensors after sealing the shell
- Integrate with home network or local hub (e.g., Zigbee, Wi‑Fi)
Expanding on automation benefits:
- Energy management: Variable speed pumps can reduce power consumption by up to 60% compared to single‑speed models. Coupled with a smart thermostat that lowers heating during nighttime, overall utility bills drop noticeably.
- Remote monitoring: Most systems send daily water quality reports via email or an app. This proactive approach allows you to adjust chlorine levels before algae blooms develop.
- Safety features: Auto‑shutoff sensors detect leaks, preventing costly damage and ensuring child safety. A low‑water alarm can alert you if the pool level drops due to a broken pump.
- Integration with home assistants: Voice commands through Amazon Alexa or Google Assistant let you change lighting colors, start cleaning cycles, or check water chemistry without leaving the deck.
- Surge protection and grounding: Properly installed surge protectors safeguard electronic components from power spikes, extending their lifespan.
Early testing of each component prevents costly rework once the pool is in use.
5. Maintenance Plans and Scheduling
A maintenance plan keeps water clean, equipment running smoothly, and extends the life of your fiberglass shell. The core tasks are cleaning, chemical balancing, and seasonal prep.
Typical maintenance schedule:
- Weekly: skimming debris, checking pH & chlorine
- Bi‑weekly: brushing tiles, vacuuming bottom, inspecting filters
- Monthly: shock treatment, calcium hardness adjustment
Professional service plans range from $200 to $400 per month based on pool size and usage. DIY maintenance saves money but requires a strict routine; missing even one step can lead to algae blooms or equipment failure.
Maintenance tools worth investing in:
- Automatic skimmer: reduces manual labor during peak seasons
- Robotic cleaner: 24‑hour cleaning with minimal supervision
- Water testing kit: accurate pH, alkalinity, and chlorine readings
Seasonal preparation details:
- Winterization (cold climates): Lower the water level to protect pumps, add antifreeze to plumbing lines, and cover the pool with a breathable blanket. A proper winter kit prevents ice damage.
- Summer deep clean: Run a full shock cycle, adjust calcium hardness to 200–250 ppm, and rinse all skimmer baskets thoroughly. This ensures clarity for extended use.
- Filter maintenance: Backwash or clean sand filters every 4–6 weeks during heavy use. Replace cartridge filters annually if they show signs of wear.
- Equipment checks: Inspect the pump, heater, and filtration system monthly for unusual noises or vibration. Addressing small issues early avoids costly replacements.
The most common mistake homeowners make is underestimating the time needed for chemical balancing—over‑chlorination can damage the fiberglass finish.
6. Adding Waterfall Features to Fiberglass Pools
A waterfall enhances aesthetics, agitates water for better circulation, and creates a soothing soundscape. The key is choosing a design that complements the pool’s shape and your landscape.
Design options:
- Edge‑of‑pool waterfall: streams from one side to the other
- Central fountain: a vertical drop that becomes a focal point
- Integrated spa jet waterfall: combines relaxation with visual appeal
Cost varies widely—$2,000 for a simple edge feature up to $10,000+ for custom stone facades and advanced lighting. Installation requires careful waterproofing and additional plumbing.
Maintenance considerations:
- Regular cleaning of the basin to prevent mineral buildup
- Check pump suction for adequate flow before each use
- Monitor water level; a waterfall can lower it faster than normal evaporation
Practical tips for waterfall integration:
- Pump sizing and placement: A dedicated pump with a flow rate of at least 4,000 gallons per hour ensures the water falls smoothly without causing turbulence that could damage the shell.
- Waterproofing details: Seal all joints with marine‑grade silicone to prevent leaks. Install a drainage basin beneath the waterfall to capture overflow during heavy rain.
- Electrical safety: Use GFCI protection for any outlets near the water feature, and route cables through insulated conduits that meet local code.
- Silt control: Place a fine mesh net at the base of the waterfall to trap debris before it reaches the pool wall.
- Sound management: If noise is a concern, add sound‑absorbing panels or choose a lower flow rate to reduce splashing.
Installing a waterfall after the pool is fully operational saves time and reduces the risk of leaks during construction.
The single most critical decision in any fiberglass pool project is choosing an installer with verified credentials and a transparent process; this sets the stage for cost control, quality, and peace of mind throughout the life of the pool.Homeowners who skip professional excavation often pay more than twice the initial estimate because of hidden rock or drainage issues. That’s why I always recommend a pre‑construction survey by an experienced contractor.
What was the biggest surprise you encountered during your pool installation, and how did it affect your budget?


