
How to Manage a Customized Pool Project for Maximum Efficiency in 2026
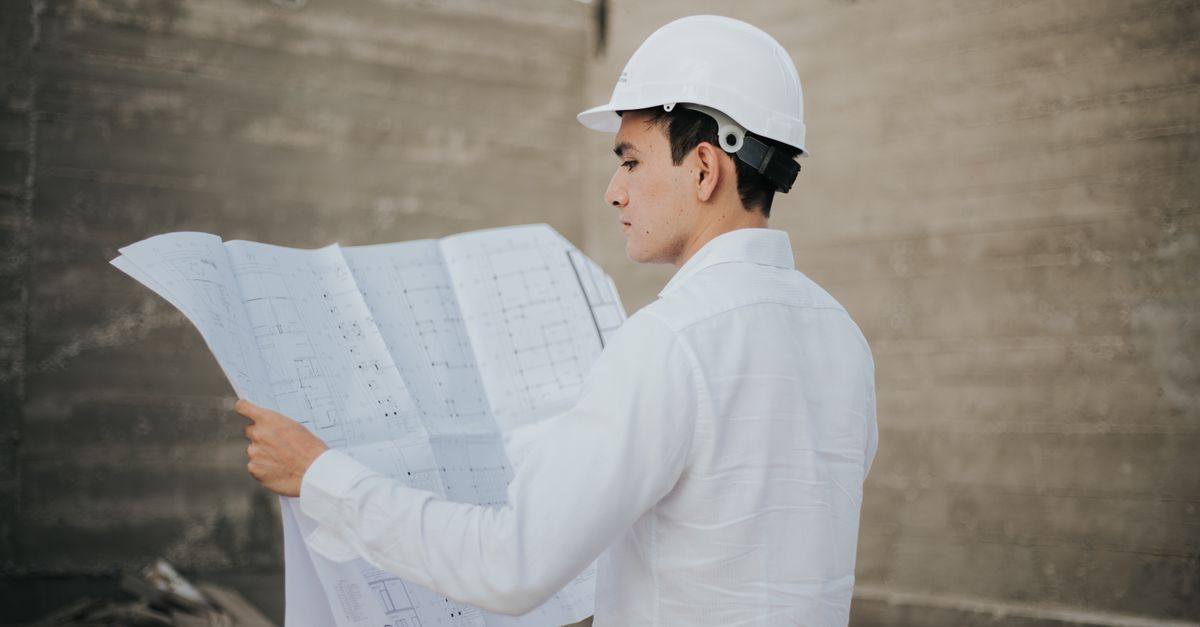
When you decide to build a custom pool, the biggest challenge is turning an idea into a finished product while staying on budget and on schedule. In this article I break down the essential steps of pool project management: scoping, builder selection, design, deck construction, and communication. Each section contains practical lists and tips that will help you avoid common pitfalls.
1. Define Your Scope and Budget
The first decision is what the pool will actually do for you. Will it be a backyard oasis for family gatherings, an exercise space, or a visual centerpiece? Once the purpose is clear, you can translate that into measurable requirements: size, shape, depth zones, water features, lighting, and technology integrations.
Creating a Clear Scope Statement
A scope statement is more than a list of desires; it should outline deliverables, constraints, and acceptance criteria. Write it in simple language so that every stakeholder—yourself, the builder, and any subcontractors—understands what success looks like.
- Define each pool zone (deep swim, shallow lounge, kids’ play). Specify depths in feet or meters.
- Choose water features: waterfall, jet stream, or zero‑flow fountain. Note power requirements and maintenance impact.
- Set lighting goals—LED strips for ambience, uplighting for safety, or programmable color change.
- Decide on automation: smart pool controllers, mobile app integration, remote monitoring of temperature and salinity.
- Identify eco‑friendly options such as a saltwater system, solar heating panel placement, or an energy‑efficient filtration cycle.
Budgeting with Precision
A realistic budget is the backbone of any custom project. Start by itemizing all potential costs and then add a contingency buffer.
- Material Costs: Concrete, fiberglass shell, decking materials.
- Labor: Excavation, plumbing, electrical, finishing work.
- Permits & Inspections: Local municipality fees and potential environmental impact assessments.
- Equipment Rental: Trucks, generators, scaffolding.
- Finishing Touches: Landscaping around the pool perimeter, lighting fixtures, pool covers.
- Contingency: Allocate 10–15 % of total budget for unforeseen expenses such as underground utilities or weather‑related delays.
2. Selecting the Right Eco‑Conscious Builder
Your builder should not only meet your aesthetic goals but also align with sustainability principles. Look for certifications such as LEED or local green building programs, and ask about material sourcing and waste reduction practices.
Key Criteria to Evaluate Builders
- Experience with Custom Projects: Portfolio of completed pools that match your vision.
- Green Credentials: Use of recycled materials, low‑VOC paints, energy‑efficient pumps.
- Transparent Pricing: Itemized estimates and clear change‑order procedures.
- Project Management Tools: Digital dashboards for progress tracking.
- Warranty & Maintenance Plans: Long‑term support for pool systems.
- Client References: Testimonials that confirm reliability.
- Insurance & Licensing: Proof of liability insurance and proper state licensing.
- Local Knowledge: Familiarity with regional building codes, drainage regulations, and environmental restrictions.
Creating an Evaluation Matrix
Assign weighted scores (1‑5) to each criterion based on your priorities. This objective approach helps compare multiple bids and ensures you choose a builder who aligns with both your vision and sustainability goals.
3. Designing a Custom Saltwater Pool Layout
Saltwater pools offer lower chlorine levels and smoother water chemistry, but they require careful design to maintain salinity and avoid corrosion. The layout should include strategic placement of salt cells, skimmers, and circulation points.
Design Checklist for Saltwater Systems
- Pool Shape: Avoid sharp corners that concentrate salt buildup; opt for rounded edges or a slight oval to promote uniform flow.
- Salt Cell Placement: Near the deepest point to ensure even distribution and reduce the need for multiple cells.
- Skimmer Placement: At least one per side for balanced flow, positioned where water velocity is highest.
- Water Flow Rate: Minimum 3–4 passes per hour; calculate based on pool volume and pump capacity.
- Material Compatibility: Use stainless steel or coated components resistant to salt; avoid galvanized metal for fittings.
- Automation Integration: Remote monitoring of salinity, temperature, pH, and chlorine levels; set alerts for deviations.
- Solar Heating Placement: Position panels on the roof or adjacent area to capture maximum sunlight without shading the pool.
Maintenance Planning for Saltwater Pools
Saltwater systems reduce the need for manual chlorine additions but introduce new maintenance tasks:
- Regularly check salt cell performance and replace if efficiency drops.
- Monitor pH and alkalinity; adjust with calcium hypochlorite or sodium carbonate as needed.
- Inspect for scaling on surfaces, especially around the deep end where temperature gradients are greatest.
- Schedule yearly calibration of sensors to ensure accurate data feeds.
4. Constructing the Deck: Materials & Methods
The deck surrounds the pool and determines safety, durability, and visual appeal. Choosing the right material—poured concrete, stamped slabs, or composite panels—impacts maintenance and lifespan.
Deck Material Comparison
- Poured Concrete: Custom shapes, low cost, high durability; requires proper curing to avoid cracking.
- Stamped Concrete: Adds texture that mimics natural stone or wood; moderate price increase but great visual impact.
- Composite Panels: Low maintenance, eco‑friendly, but higher upfront; resistant to fading and rot.
- Stone Veneer: Luxury look, requires professional installation and a waterproofing membrane beneath.
- Wooden Decks: Warm aesthetic, needs regular sealing or staining; susceptible to water damage if not properly treated.
Construction Methodology
The quality of the deck depends on several critical steps:
- Sub‑Base Preparation: Compact gravel base with a 4–6 in layer, followed by a geotextile membrane to prevent weed growth.
- Drainage Layer: Install a perforated drainage pipe around the perimeter; connect it to an exterior drain or French drain system.
- Waterproofing: Apply a liquid waterproofing coat over the concrete slab before finishing to protect against moisture penetration.
- Curing Schedule: Keep poured concrete moist for 7–14 days, using curing blankets or misting systems to ensure strength development.
- Finishing Techniques: For stamped concrete, use a high‑frequency vibrator to remove air pockets; for composite panels, allow a 24‑hour settling period before sealing.
- Slip Resistance: Apply non‑slip coatings or incorporate textured surfaces where the deck meets the pool edge.
Safety and Accessibility Considerations
Modern pools must meet ADA guidelines for accessibility. Incorporate ramps with a maximum slope of 1:12, handrails on both sides, and non‑slip treads at the top. Also plan for adequate lighting around the deck to enhance nighttime safety.
5. Managing Timeline and Communication
A well‑structured timeline keeps the project moving and stakeholders informed. Use a phased approach: design approval, excavation, plumbing, pool shell, finishing, and final inspection.
Timeline Milestones (Typical 20‑Week Project)
- Weeks 1–2: Finalize design & permit applications; submit drawings to local authorities.
- Weeks 3–5: Excavation, sub‑base installation, and foundation pour.
- Weeks 6–8: Plumbing and electrical rough‑in; install salt cell, skimmers, and circulation system.
- Weeks 9–12: Pool shell construction (concrete or fiberglass); integrate water features.
- Weeks 13–15: Decking and surface finishes; apply waterproofing and slip‑resistant coatings.
- Weeks 16–18: Water system installation & testing; calibrate sensors, perform pH and salinity checks.
- Weeks 19–20: Final inspection, walk‑through with client, handover paperwork, and post‑installation support plan.
Communication Best Practices
Maintain daily or weekly status reports via a shared project management platform (e.g., Trello, Asana). Assign a single point of contact for all questions to avoid confusion and redundant communication. Schedule bi‑weekly site meetings with the builder, subcontractors, and yourself; use these sessions to review progress, address concerns, and adjust timelines if necessary.
Document every change order in writing and obtain approvals before work begins. This protects against scope creep and budget overruns.
What is the most critical factor you consider when selecting an eco‑conscious pool builder?


