
Efficient Pool Building Processes vs Waterfall Features: How to Plan Saltwater Construction and Upgrade Your Swim Space
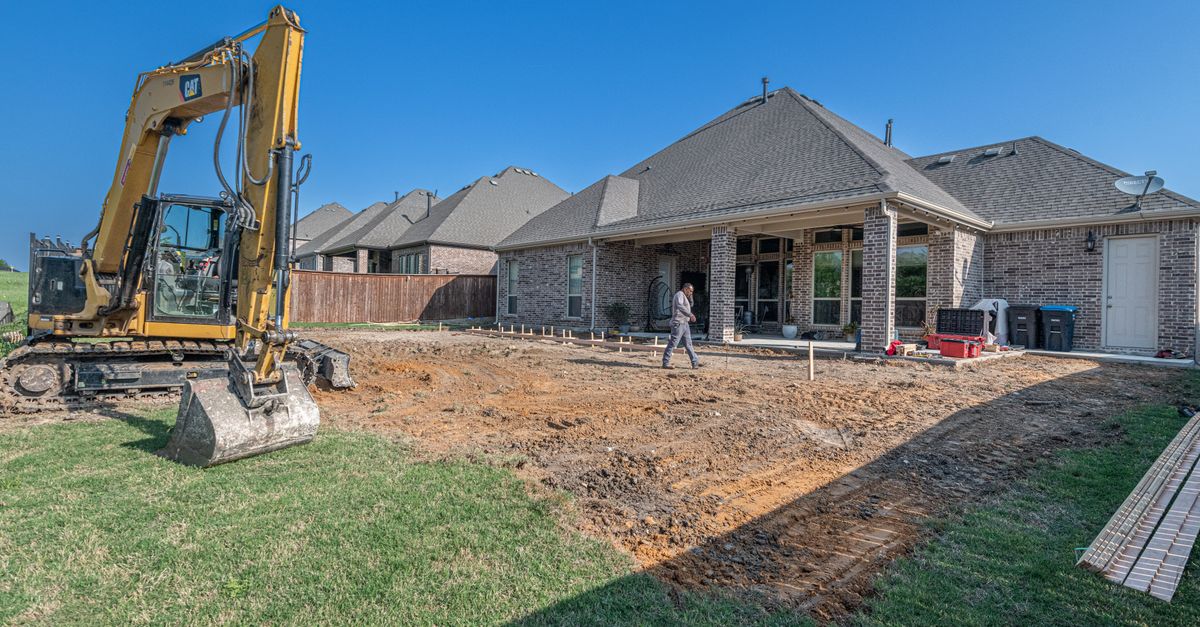
When you’re ready to dive into a new pool project, the first question that pops up is how to keep construction efficient while still hitting those high‑end features like waterfalls or saltwater systems. In this guide I’ll break down the practical steps, compare traditional and waterfall designs, and give you a playbook for detailed plans that save time, money, and headaches.
Understand Your Site Before You Dig
The foundation of any efficient pool build starts with a solid site assessment. Skip this step and you’ll end up re‑working foundations or dealing with drainage issues down the line.
Key Elements to Inspect
- Soil composition: Clay vs sandy soils affect excavation depth and support.
- Topography: Natural slopes can be leveraged for waterfall features or require grading.
- Utilities: Locate buried lines, septic systems, and existing water sources to avoid costly relocations.
- Sun exposure & wind patterns: Influence pool placement for maximum comfort and energy efficiency.
- Permitting requirements: Local codes may dictate setbacks, depth limits, or safety railings.
Once you have this data, you can move to the next phase without surprises. A quick survey by a licensed professional can uncover hidden obstacles that would otherwise delay your project by weeks.
Traditional vs Waterfall Pool Features: Which Fits Your Vision?
A waterfall adds drama and a natural soundscape, but it also introduces plumbing complexity. Here’s how they stack up.
- Cost: Waterfalls can add 10‑20% to the budget due to pumps, piping, and structural support.
- Maintenance: Requires regular cleaning of jets, filters, and sometimes a dedicated pump cycle.
- Water usage: Continuous flow increases evaporation; integrate misting or solar covers to mitigate.
- Aesthetic flexibility: Works best with natural stone or terracotta tiles that blend into the surrounding landscape.
- Installation time: Adds 2‑4 weeks of labor, especially if you’re incorporating custom masonry.
If budget and low maintenance are priorities, a traditional flat design may be wiser. If you want a centerpiece that impresses guests, invest in a waterfall but plan for the extra work.
Detailed Pool Construction Plans: The Blueprint of Success
An exhaustive construction plan is your roadmap to staying on schedule and under budget. It should contain every detail from the initial survey to final finishing touches.
Components Every Plan Must Include
- Site survey & grading plans: Shows exact excavation depths and drainage paths.
- Pool layout & dimensions: Includes depth zones, swim lanes, and any integrated features like a waterfall or spa.
- Plumbing schematics: Details water supply, return lines, filtration units, and salt chlorinator placement.
- Electrical wiring diagram: Covers lighting, automation controls, and safety interlocks.
- Waterproofing & sealing schedule: Specifies membrane installation, joint treatments, and curing times.
- Finishing & décor: Lists tile patterns, coping materials, decking options, and landscaping elements.
When you hand this plan to contractors, they’ll know exactly what’s expected, reducing the chance of scope creep. Including a dedicated “custom masonry” buffer—just 12 hours for stone coping—can prevent last‑minute surprises.
Streamlining Workflows: Efficient Pool Building Processes in Practice
I’ve seen projects stall because teams didn’t communicate effectively. Here are the practices that keep everything moving forward.
- Pre‑fabricated components: Use modular shells or precast slabs to cut excavation and concrete time.
- Integrated project management software: Centralize schedules, budgets, and change orders so everyone sees real‑time updates.
- Single‑point coordination: Assign one manager to oversee plumbing, electrical, and structural work, preventing overlapping tasks.
- Batch procurement: Order materials in bulk at the start to lock in prices and avoid delivery delays.
- Quality checkpoints: Schedule inspections after each major milestone—excavation, shell pour, waterproofing—to catch issues early.
Adopting these steps can shave 15‑25% off typical construction timelines while keeping quality high.
Saltwater Pool Construction Essentials
Switching from chlorine to saltwater offers a softer experience and lower chemical handling. The core difference lies in the chlorinator system, but other factors matter too.
- Chlorinator sizing: Match it to pool volume; an undersized unit will lag behind maintenance needs.
- Filtration upgrade: Saltwater pools generate more foam and require a high‑capacity filter or dual‑stage system.
- Water chemistry monitoring: Install automatic sensors for pH, alkalinity, and calcium hardness to keep the system balanced.
- Maintenance schedule: Clean the salt cell every 3–6 months; replace it after 2–4 years depending on usage.
- Energy efficiency: Pair the chlorinator with a variable‑speed pump to reduce electricity consumption.
When you integrate these components into your detailed plan, the saltwater system becomes a seamless part of the pool’s ecosystem. A well‑designed circulation loop also helps prevent salt buildup on metal fittings, extending their lifespan.
Swimming Pool Upgrades: When and How to Refresh Your Investment
Even the best‑planned pools need periodic updates. Knowing what upgrades bring the most value helps you decide when to act.
- Re‑carpet or resurfacing: Replace worn vinyl or plaster for a fresh look; typically done every 10–15 years.
- New tile or coping: Upgrade to quartz or natural stone for durability and style; fits during major renovation cycles.
- Lighting enhancements: LED fixtures with color‑changing options improve ambiance and energy savings.
- Automation integration: Add smart controls for pumps, heaters, and lighting to boost convenience.
- Safety upgrades: Install updated fencing or motion‑detecting alarms if local codes have changed.
Plan upgrades during off‑peak seasons to minimize disruption and take advantage of lower labor costs. A timely resurfacing can also improve water clarity, making the pool more inviting.
Common Pitfalls & How to Avoid Them
Even seasoned builders hit snags. Here are the top mistakes and my quick fixes.
- Underestimating excavation: Always add a 10% safety margin for unforeseen soil conditions.
- Skipping waterproofing inspection: A single leak can ruin months of work; double‑check seals before covering.
- Lack of contingency budget: Set aside at least 5–8% of the total cost for unexpected changes.
- Ignoring local regulations: Non‑compliance leads to fines and rework. Verify permits early.
- Overlooking energy efficiency: Choose variable‑speed pumps and solar covers; they pay back in savings.
In my experience, projects that start with a clear site assessment and a comprehensive plan always finish ahead of schedule. When I first built a waterfall‑integrated saltwater pool, the only surprise was the extra 12 hours of labor needed for custom stone coping—something the initial design had overlooked. I learned to include a dedicated “custom masonry” buffer in every future plan.
What challenges have you faced when integrating waterfall features into existing pool plans?


